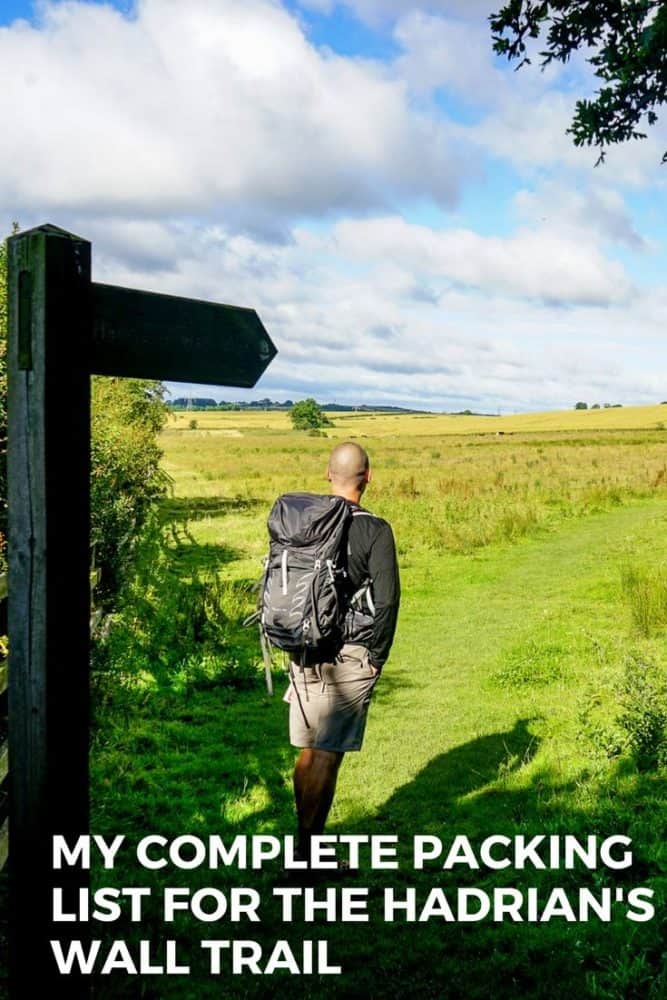
My Complete Hadrian’s Wall Path Packing List
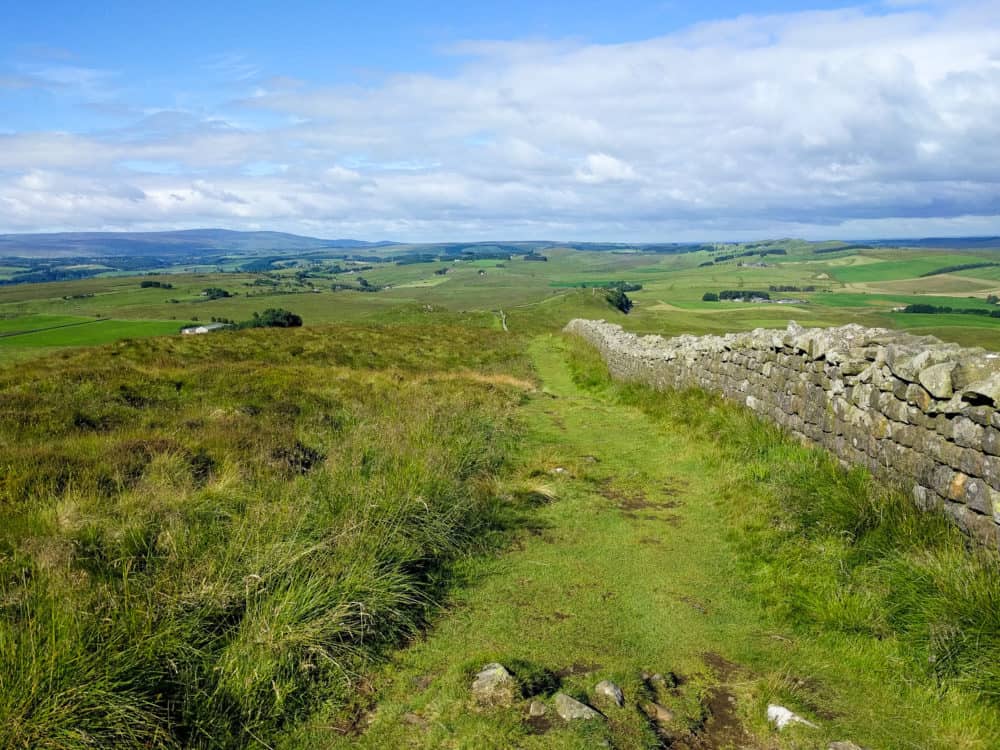
Articles on this site contain affiliate links, meaning I may be compensated if you buy a product or service after clicking them. The full privacy & disclosure policy is here.In July 2017, I spent six days walking the length of the Hadrian’s Wall Path, in northern England. From Wallsend in the Newcastle suburbs, to Bowness on the Solway estuary, this national trail follows the path of a 2000-year-old Roman wall for 84 miles across the country.
I’ve put together a separate guide to walking Hadrian’s Wall, but wanted to devote one post solely to the gear I took. Even though the trail is relatively short by the standards of long-distance hikes, the weather in that part of the world can make it tricky to know exactly what to take.
Here’s what I packed, what I left behind, and how well those choices worked over the course of my week in the English countryside. This wasn’t a camping trip — I stayed mainly in bunkhouses, and ate at pubs and cafes along the route — so the gear list reflects that.
Note that this post is broken it up into several sections — if you’re only interested in a particular part, you can skip straight to it.
Backpack
I’ve used a few different backpacks for long-distance hikes over the years, but hadn’t been fully satisfied with any of them. For this walk, then, I bought something new: the Osprey Talon 44.
Small enough to use as carry-on with most airlines (even Easyjet had no problem with it), it’s a mid-sized, top-loading hiking pack with a 44 litre capacity. The internal frame added much-needed stability, yet the pack was still light enough at 1.1kg (2 lbs 7 oz) that it didn’t feel like a burden before I started putting gear in it.
I wrote up a full review of the Osprey Talon 44 if you want all the details, but in short, I grew to love this pack over the course of the walk. While I didn’t need the full capacity, since I wasn’t carrying a sleeping bag or other camping gear, the spare room made packing a breeze each morning.
The side mesh pockets were ideal for things like a water bottle and guide book that I’d need throughout the day, and I used the larger pocket on the back to stow my long-sleeved top when the weather warmed up, or my wet poncho when the rain stopped. Snacks lived in the top lid, which meant I could quickly grab them without having to open up the main part of the bag.
The harness was comfortable even after walking for several hours, and after a bit of readjustment at the start of the second day, the waist straps were too. Crucially, there was enough airflow between my body and the pack to prevent back sweat.
With compression straps to secure larger loads, and a bunch of hooks and attachment points for things like hiking poles, plus larger items like tents and sleeping mats, I’d have no problem using the pack for short camping trips either.
Many walkers stay in campsites along this trail, and I saw several people carrying large (80+ liter) packs full of food and equipment. For those not camping — and especially, not self-catering — though, something like the Talon holds more than enough gear for a hike like this. Mine was two-thirds full at best, and it made for a much easier walk.
It turned out to be a great pack for this kind of trail, and I’ll be using it for many more long walks in the future.
Clothing
When it comes to clothing, picking the right shoes and socks is vital, and as I’ve discovered from painful experience in the past, underwear matters too. In terms of other clothes, I took three sets, along with things to protect me from hot, cold and wet weather, and it was the right amount.
Shoes
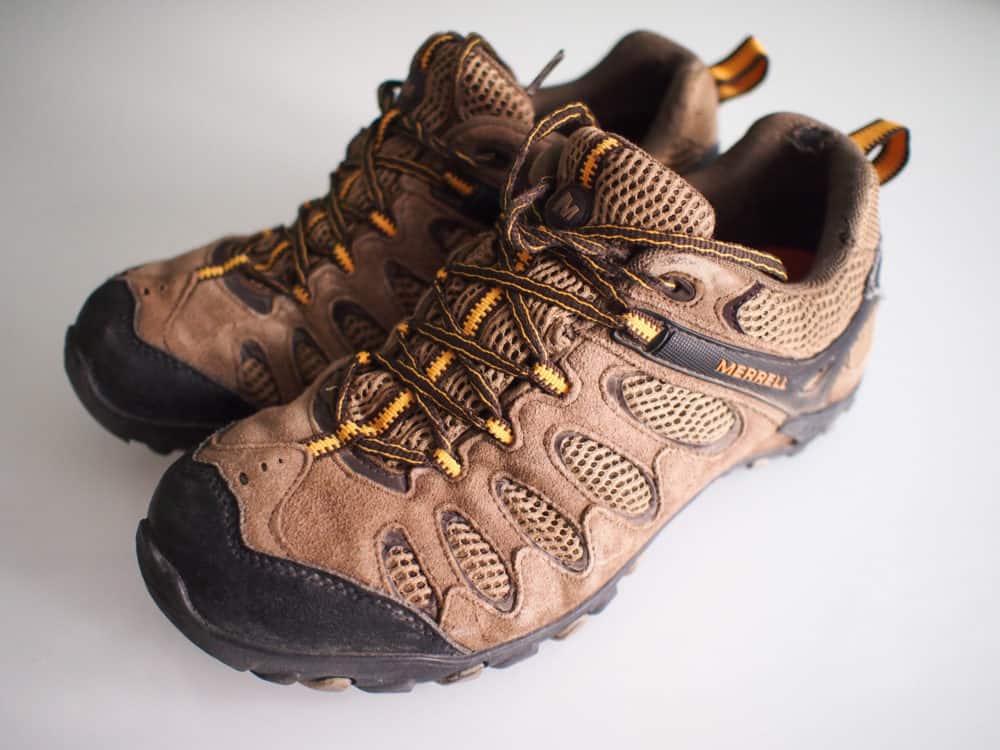
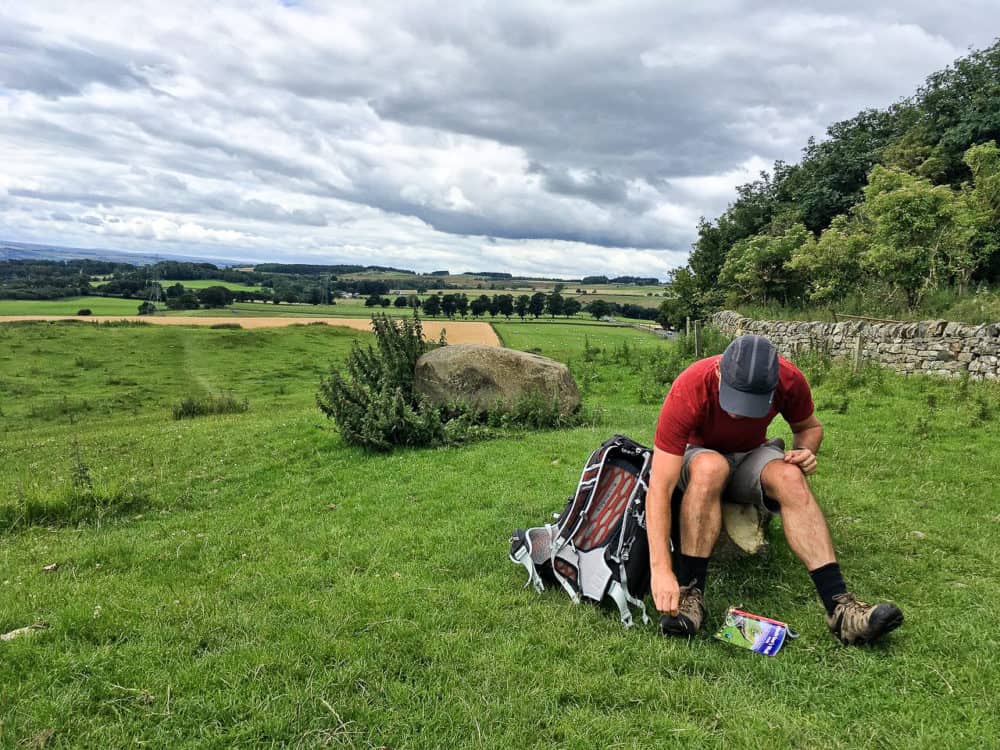
I’ve used Merrell's Moab range for all of my long walks in recent years. This was my second pair, and they were well-worn to say the least. Probably too much so, really: the soles had lost some of their padding over time, which likely contributed to the blister and foot abrasions I picked up after a long first day on pavement.
In general, though, I like these shoes a lot. The soles have plenty of grip even on slippery surfaces, and are comfortable even after hour of walking. They were water-resistant enough to keep out puddles and light rain, yet sufficiently breathable for my feet to not get too sweaty on hot days.
Not being fully waterproof, though, they did start letting the rain in after several hours of bad weather on my third day, so this is one part of the world where you might at least consider the Goretex version. I’m not usually a fan of waterproof shoes unless I know I’ll be walking in cold, wet conditions a lot, as my feet don’t enjoy the lack of airflow that comes with them, but, well, this is the north of England.
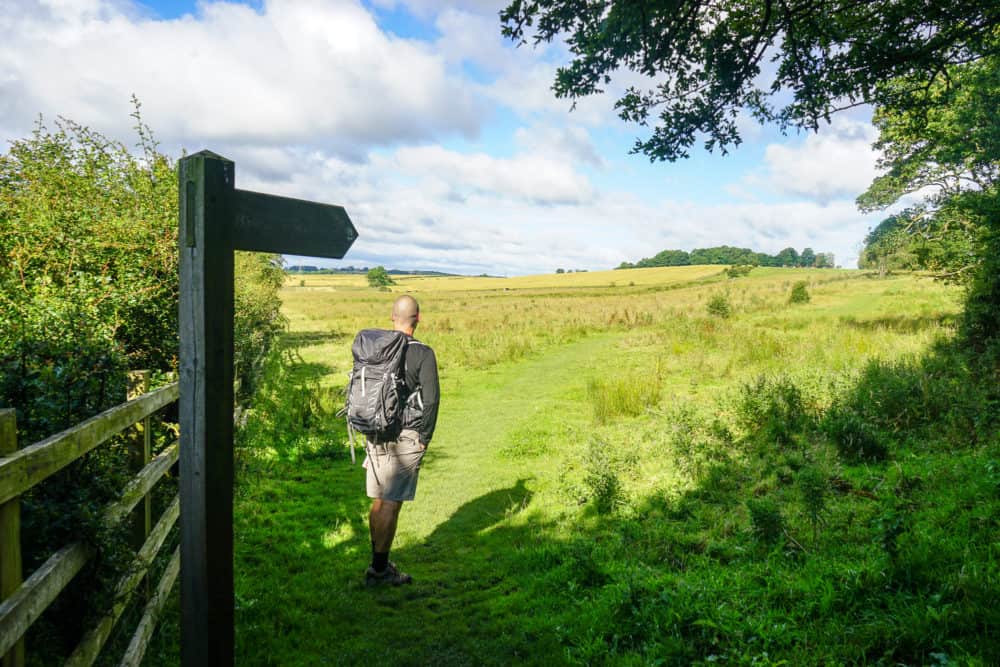
Unless you really need the ankle support, there’s no need for hiking boots on the Hadrian’s Wall Path. Much of the walking is on flat grass or dirt trails, and while there’s a bit of rocky uphill and downhill in the middle sections, it’s rarely very steep — and steps have been cut into the rocks if so. I had no problems in these shoes, and my feet appreciated the lighter footwear on hot days.
I also took a pair of flip-flops that I wore in the evening. After walking 25-30km most days, I had no interest in putting my hiking shoes back on again until I absolutely had to. Comfortable alternatives were a must.
Shirts
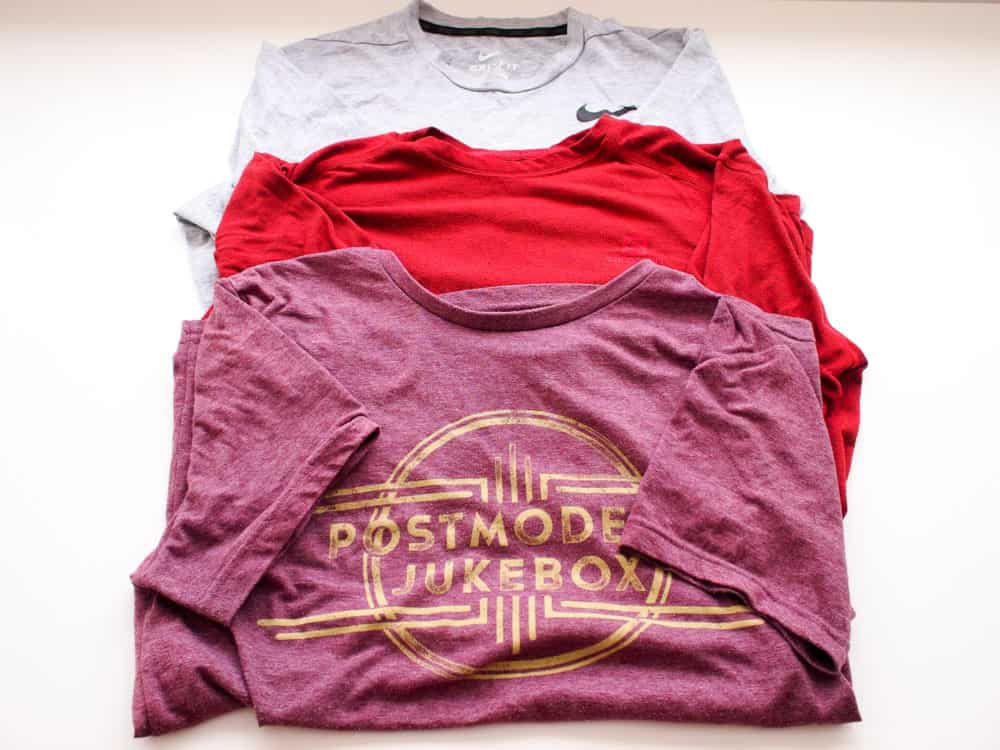
I kept things simple with my shirts, buying a couple of quick-dry versions on sale from Nike and Salomon a while back. They looked more like normal t-shirts than dedicated running gear, giving the option of wearing them at night without feeling liked I’d just stepped off the trail. This isn't the exact same shirt, but it’s pretty close.
I also packed a soft cotton t-shirt, that only got put on after a shower in the evenings. Nicer to wear (and especially, to sleep it) than quick-dry gear, I appreciated it a lot. On a short walk like this, with cool conditions at night, I didn’t need to wash it — handy, since cotton takes a lot longer to dry.
Socks
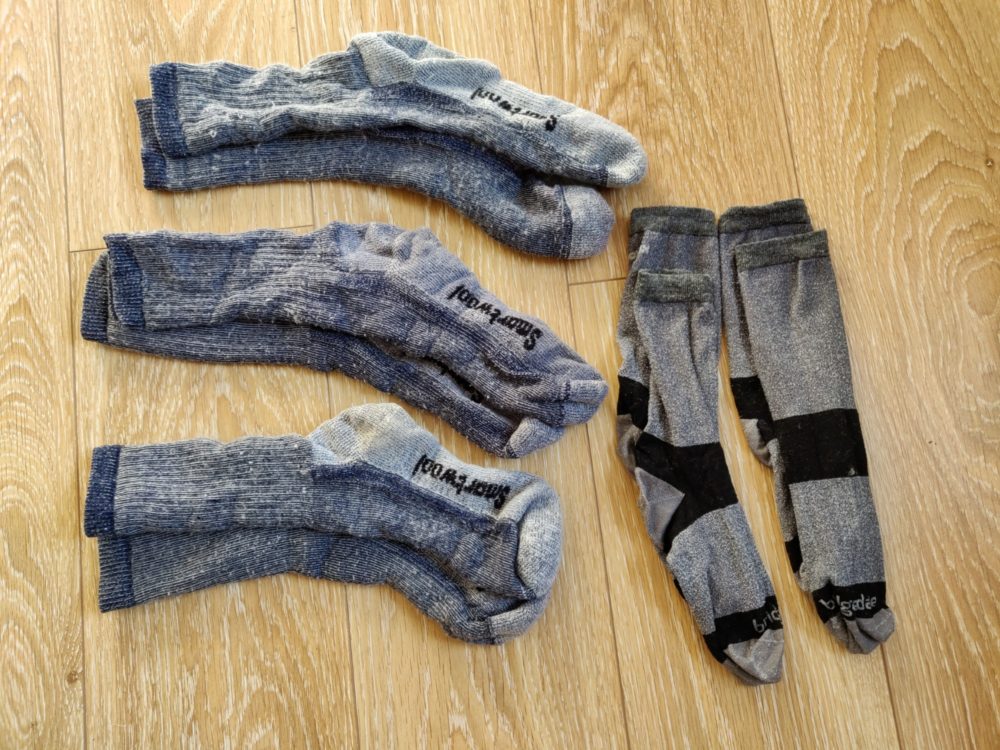
Good socks are crucial for avoiding blisters, and so I always try to take care of my feet as much as I can. I use Smartwool medium crew woollen socks almost all of the time, especially for anything that might involve a fair amount of walking on hard surfaces. The extra padding makes a big difference!
Despite the thickness, I find the Smartwool socks still dry ok as long as I make an effort to wring all the water out before hanging them up. Honestly, I love these socks: they seem impossible to kill, with one pair lasting over five hundred miles so far and still going strong. Other than a bit of pilling and wear where I’ve caught them on thorns or rocks, they look little different from the day I bought them.
I’d highly recommend these socks for any long walk. They’re not cheap, but you only have one pair of feet to get you through, and blisters can quickly ruin the experience.
Because the “outer” socks are nice and thick, I can get away with thin “inner” socks. I use Bridgedale liners, which do exactly what they’re supposed to, reducing friction and wicking sweat away from my feet. They dry in about three minutes in the sun.
Underwear
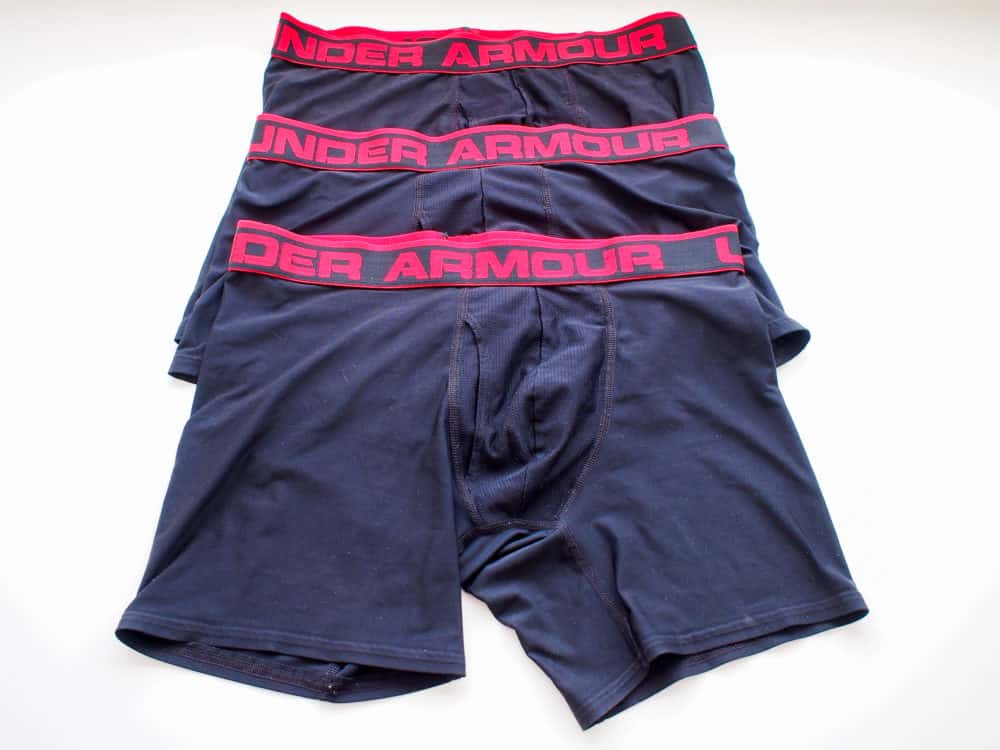
Having learned my lesson about chafing on previous walks, I’d invested in three pairs of Under Armour boxer briefs with a 6″ inseam
The company also makes a 3″ inseam version, but for me at least, those have been more prone to riding up and causing chafing after a few hours on the trail in the past. These longer ones were much better, and I had no problems at all. They also dried super-fast, even after hand-washing in a sink. Definitely recommended.
Shorts and Pants/Trousers
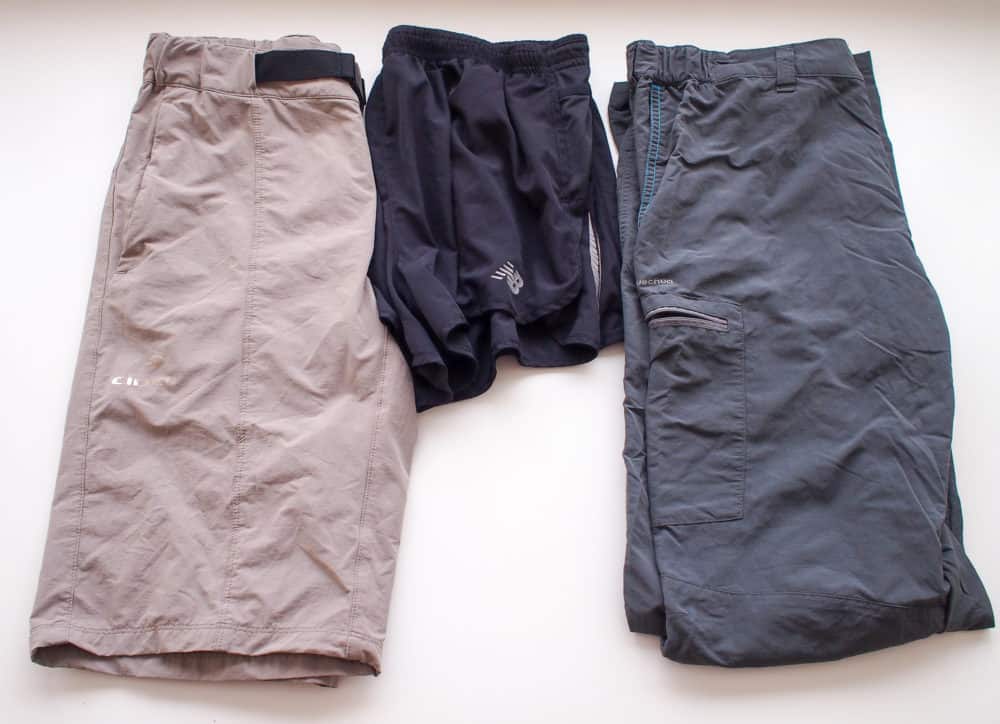
I took a pair of good hiking shorts, an ’emergency’ pair of running shorts, and some quick-dry long pants, and that was all I needed.
Around a year ago, I picked up a pair of Eider quick-dry shorts, and they’ve performed well on all my hikes since. They’re comfortable, with an inbuilt, adjustable belt, and plenty of pockets for stuffing little bits and pieces during the day.
The back pocket was wide and deep enough to hold my guidebook for this hike, which I definitely appreciated. If it’s hard to find Eider gear where you are, Columbia has also been making good hiking shorts for years.
The running shorts were only for emergency use in case I ripped or lost my main pair, and I thankfully never had to wear them. On all my other hikes, I’ve worn quick-dry long pants at night, but I was spoiled on Hadrian’s Wall.
Because we were travelling throughout the UK before and after the hike, we needed to ship a bag of non-hiking gear from place to place so we’d have it at the end. As a result, I had the luxury of a pair of jeans in the evening instead. I’m not going to lie, it was pretty nice.
I still carried the quick-dry pants each day, though, in case it got particularly cold while hiking. There were a couple of mornings where I toyed with starting out with them on, but in the end didn’t need to.
My pair don’t convert to shorts, which is fine, but it’s something I’ll consider when buying their replacements. Mine is a cheap pair from Decathlon, but again, Columbia makes good ones.
Long-Sleeved Top

I picked up a long-sleeved Icebreaker merino wool top several years ago, and have taken it on every hike since. It’s thin but warm, weighs hardly anything, and despite all the abuse it’s received, is still going strong.
I started out most mornings with it on, over top of a t-shirt. On warmer days, it was soon stowed in a backpack pocket, but on cooler ones, I wore it for much or all of the walk.
The Icebreaker range comes in different styles and designs — try to pick something that’s not entirely ugly, so you can wear it out to dinner if the weather isn’t great.
Cap
As I’ve discovered in the UK in the past, it’s surprisingly easy to get burned when the sun makes an appearance. It’s a particular problem for me, since I shave my head, so some form of protection for my head is vital.
I bought an Quecha-brand cap from Decathlon, which had a normal brim, but mesh strips down the sides to let in some air. I grew to really like that feature — my head often gets too hot inside a cap, but with the breeze coming in, it was far less of a problem.
Caps like these are also useful when the rain sets in. My poncho has a hood, but if I put the cap on my head first, it helps keep most of the rain off my face. Sure, it looks stupid, but I’d rather be drier and look silly than soaked and slightly-more stylish.
Sunglasses
I used an old pair of Oakley sunglasses on this walk — I wouldn’t have wanted to lose or break them, but they’re scratched enough that it wouldn’t have been the end of the world if I had. They worked well, and the thin stems meant I didn’t have the half-inch tan line on either side of my face that I’ve ended up with on previous walks.
Whichever glasses you wear, I’d suggest taking a decent hard case for them as well. When the sun isn’t shining, it makes sense to keep the glasses in your pack, but that’s also the perfect place to squash or break them if they’re unprotected.
Poncho
When it comes to staying dry, most long-distance walkers use one of two approaches: a poncho that covers them and their backpack, or a pack cover and rain jacket combo (plus sometimes, rain pants). My pack didn’t come with a rain cover, and a poncho requires less messing around getting set up as you’re being rained on, so that’s what I went with.
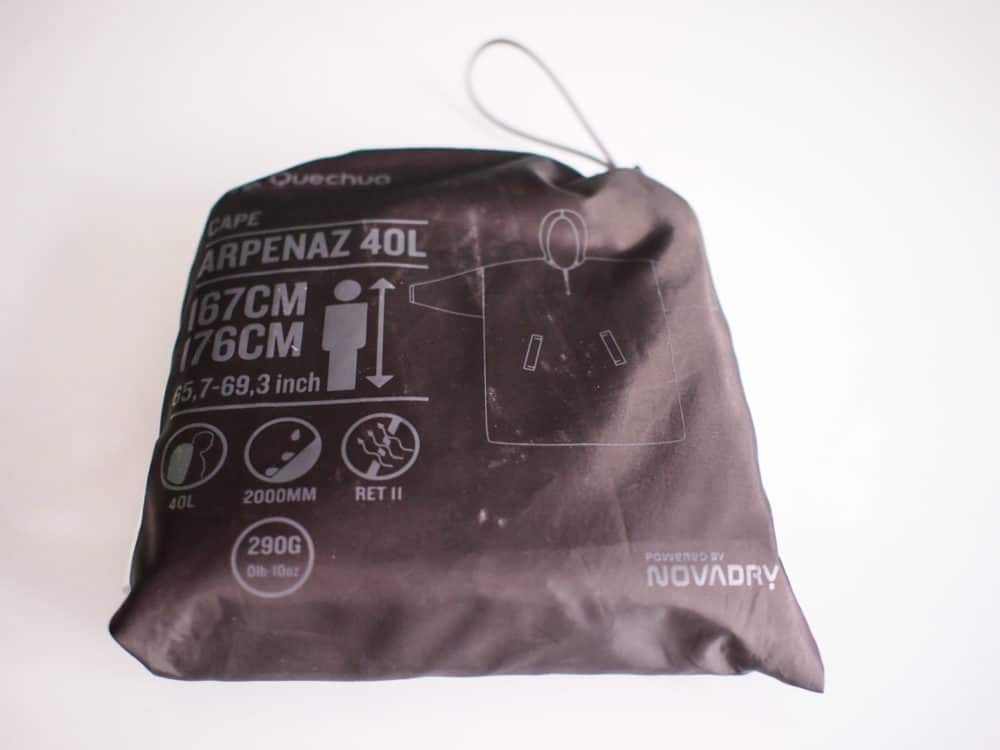
The Arpenaz model I bought from Decathlon is sturdier than other cheap ponchos, which means it won’t rip or tear easily, and doesn’t flap around unless the wind is really howling. It’s a bit heavier, sure, but staying dry is worth the extra 290 grams to me.
Even though this poncho is intended for a 40 litre pack, it fitted over my 44 litre model just fine, and still covered my body down to the bottom of my shorts. Even with the several hours of wind and rain we got on our third day, neither my pack nor any part of me covered by the poncho ever got even slightly damp.
If you don’t live near a Decathlon store, pick up something like this instead.
Sleeping
All of the places we stayed were able to supply bedding, so there was no need to pack a sleeping bag. I did take my silk liner, just in case I needed the extra warmth or there was a mix-up with linen hire, but in the end I didn’t need to use it.
One thing I learned about the north of England, though, is that in summer, the sun rises early. Like, starts-getting-light-before-5am early. Combine that with thin or non-existent curtains in bunkhouses, and you’ve got a recipe for not much sleep.
The same applies even more so to noise. While we were extremely lucky not to have anyone else in our bunkrooms during our walk, that’s highly unusual — and even so, I was still woken up one night by the sound of someone snoring from the room next door.
Silk Liner
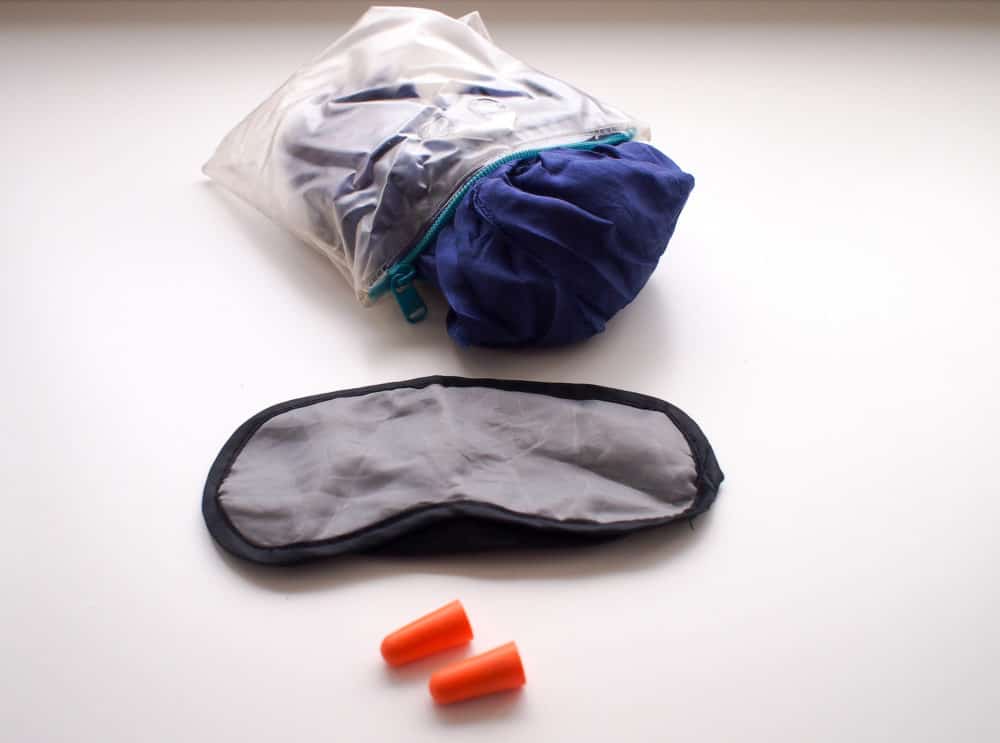
My silk liner is the oldest piece of travel gear I own. I’ve had it around two decades, but it’s still going strong. I lost the proper bag for it years ago, but a ziploc works just fine.
Good silk liners aren’t cheap, so if you don’t know you’ll have a need for one on this walk or another, save your money for something else. If you do drop the cash on a quality one, though, you’ll likely find it lasts forever. When the time eventually comes to replace mine, it’ll be with one like this.
Earplugs
I always travel with earplugs like these, and I wouldn’t sleep in shared accommodation without them They’re designed for use around car races and heavy machinery, which in my experience, is enough to drown out all but the most extreme snorers.
Eye Mask
Given how early the sun rose, an eye mask was essential if I wanted a full night’s sleep. I got mine from an airline toiletry pack years ago, but versions that cut out more light are cheap to buy if you don’t already have one.
Food and Water

With hearty breakfasts the norm, and since you’re rarely more than a couple of hours from a cafe or pub while walking Hadrian’s Wall, there’s no need to carry much in the way of food. Only once did I get a packed lunch from my accommodation, since I suspected the only pub between me and my destination would be closed that day (it was).
I typically ate breakfast at my accommodation — either it was included, or available for a small fee — and it was usually of the large, artery-clogging ‘Full English’ variety. Lunches and dinners were in pubs, cafes and (in the cities) restaurants along the way. As I mention in my main guide, it’s worth checking opening and food serving hours ahead of time, though. Pubs, especially, don’t usually do hot food all day, and many close one day a week.
Water fountains are available in some villages along the way, but I just asked cafe or pub owners to fill my bottle when I stopped in for a drink or food.
Water Bottle
While I usually use a one litre Camelbak Chute water bottle on my hikes, I didn’t have space for it in my carry-on for this trip. Instead, I just bought a standard 1.5 litre bottle of water from the supermarket, and recycled it at the end. It was nowhere near as durable, but for a week-long walk, it was fine.
Roll-Up Water Container
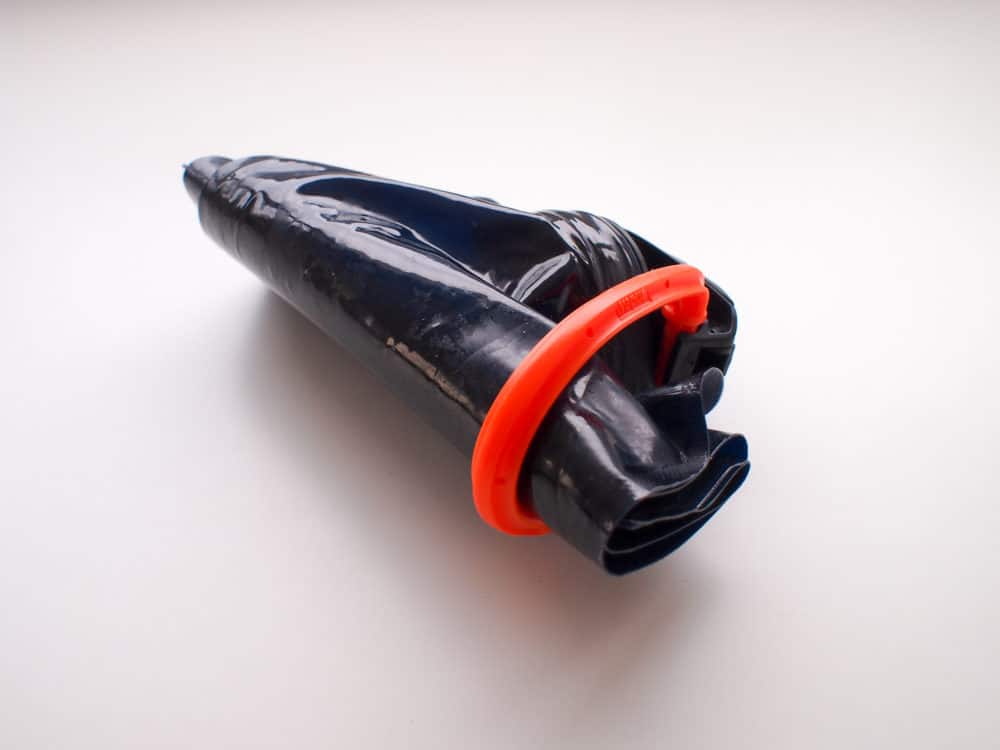
I also had this tiny roll-up water container as a backup, which holds 700mls when unfurled. I didn’t expect to need it, but it was so small and light, I was happy to take it with me. As expected, it stayed in the bottom of my bag the entire time.
Snack Bars
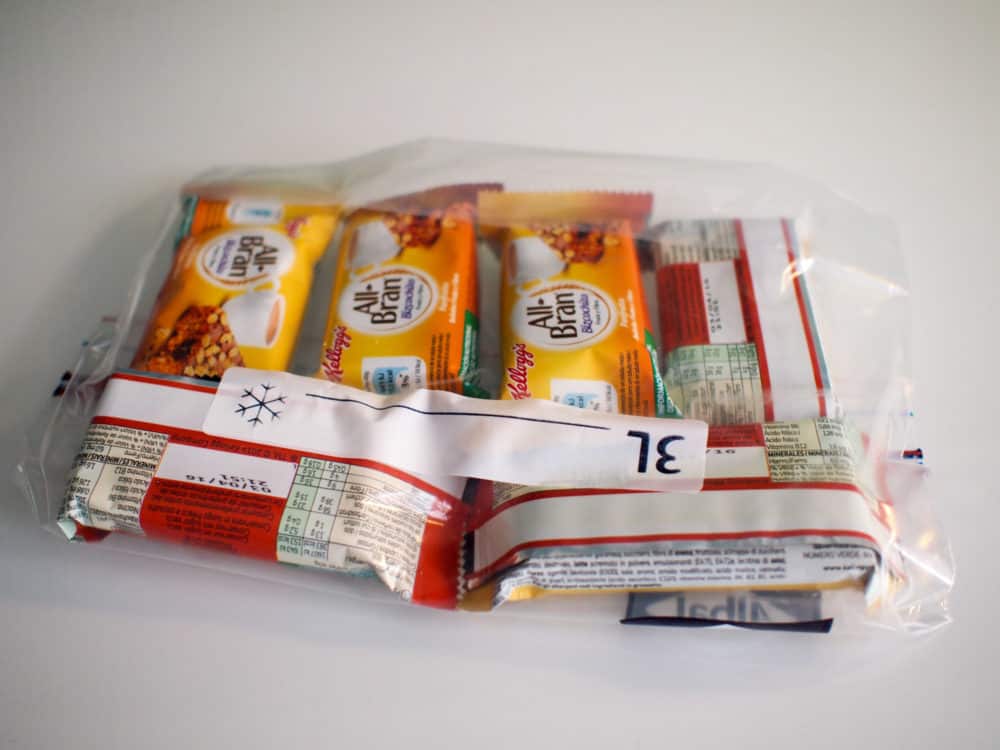
I picked up a six-pack of snack bars from Tesco the day before the walk, along with a large pack of peanuts, so I’d always have something to eat if necessary. I got through most of it by the end, and it was good to have that little energy boost when I started to flag at the end of long days.
First Aid Kit
With pharmacies in the cities at either end of the walk, plus basic first-aid supplies available elsewhere along the way, I carried only what I considered the bare minimum of first-aid equipment. For anything serious, it would never have been hard to get off the trail and take a taxi to the nearest doctor or hospital.
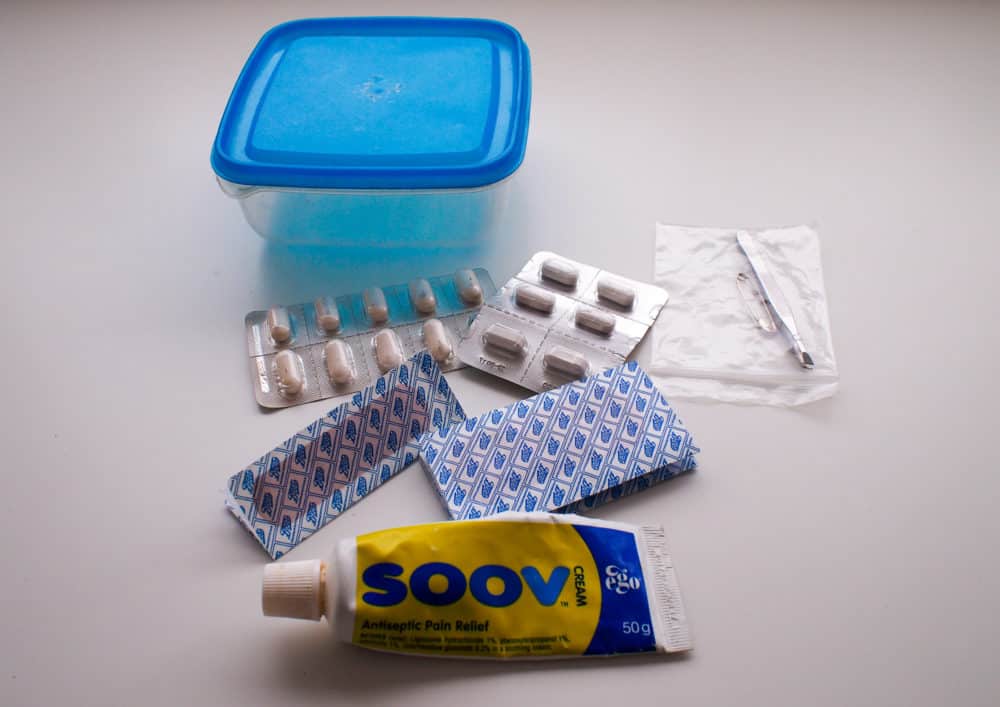
Ibuprofen
I took a pack of ten 500mg Ibuprofen tablets in case of swelling or blisters. While I didn’t use any of them, Lauren took a couple when her feet started giving her a hard time. I bought them in Spain, where 500mg is a standard strength, but that’s higher than you'll find in many other countries. Maybe take a few extra tablets if that’s the case in your part of the world.
Imodium
Just in case I ate or drank something that violently disagreed with me, I took a few tabs of Imodium to help me get to the next bathroom. Thankfully, I didn’t need to use them.
Multi-Purpose Ointment
I packed some multi-purpose antiseptic cream for treating insect bites, minor wounds, and burst blisters. We didn’t use it on this walk, but I’d always hike with it regardless.
Bandaids
Bandaids were most useful for putting over blisters and abrasions, and we got through plenty of them. I prefer the Steroplast fabric versions because they’re one of the very few that stay attached even when my feet get wet or sweaty, but if you can’t easily find them, I guess just get a multi-pack with an assortment of different sizes.
Tweezers and Safety Pin
I packed a pair of tweezers for removing splinters or thorns, and a safety pin in case I needed to pop a blister or something equally gross. Luckily, neither had to come out of their bag.
Container
The plastic container used to live in my kitchen drawer. Its main claims to fame are that it’s small, and the lid closes tightly enough to keep water out. That’s it.
Toiletries
I kept toiletries to a minimum, while still being able to walk into a pub without everyone turning around to see where the smell was coming from.
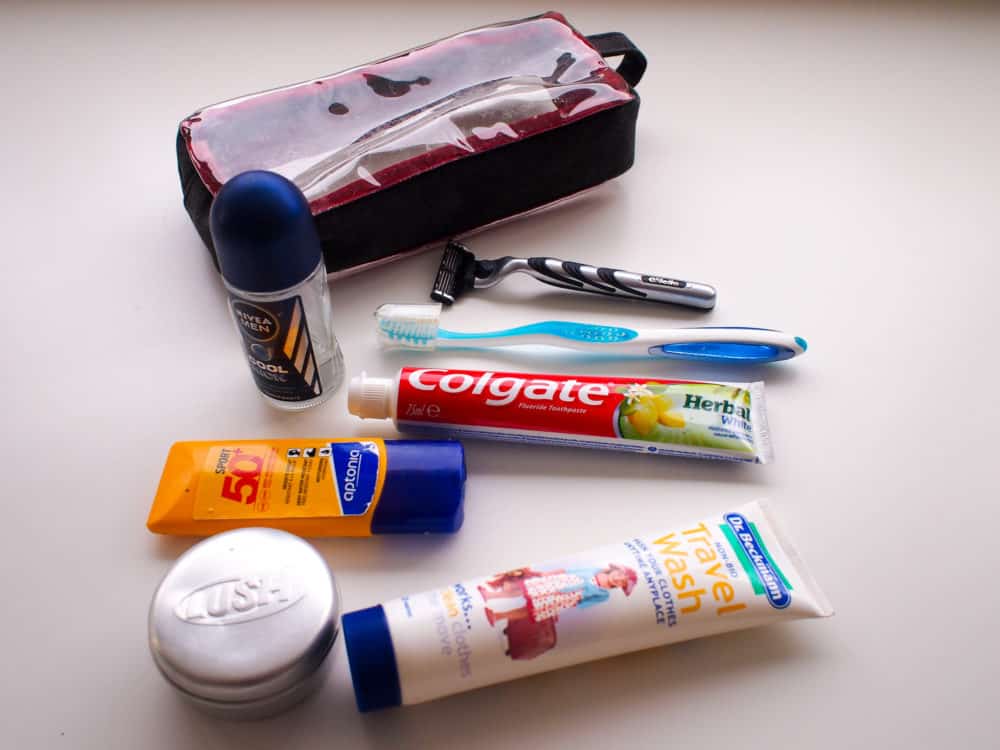
Lush Soap
Most of the bunkhouses and hotels supplied shower gel, but when they didn’t, I used a bar of this Lush soap instead. This stuff smells good and lasts forever, and the company also sells a small metal box to keep it in — much better than dropping damp soap in your toilet bag!
Roll-On Deodorant
Since roll-on deodorant is smaller and lasts longer than spray or stick, that’s what I took.
Toothbrush and Toothpaste
I bought a travel-specific toothbrush that folds up into itself so it’s a bit less gross in my toilet bag. The toothpaste had a screw-on lid, so it wouldn’t go everywhere in my bag.
Laundry Liquid
While some bunkhouses had washing machines and dryers available, hand-washing clothes was part of my routine most days. I used Dr Beckmann travel wash to do it with, and was impressed — it did a better job than other brands I’ve tried.
Sunscreen
The sunscreen I took was small, light and had an SPF of 50+, so I never got burned even when I was out in the sun for several hours.
Safety Razor
I didn’t plan to shave during this walk, but took a razor just in case my beard got too itchy. It didn’t.
Toiletry Bag
My usual travel toilet bag was fine for Hadrian’s Wall. Almost any type would do, so long as it has a fabric loop or plastic hook to hang it up in bunkroom showers. Having a hook on the bag is useful — I sometimes needed to hang it over the cubicle door, as there was no other way to keep it off the floor.
Technology
When it came to tech, I wanted to take as little as possible, both to help appreciate the experience more, and to keep the weight down. Here’s how it worked out.
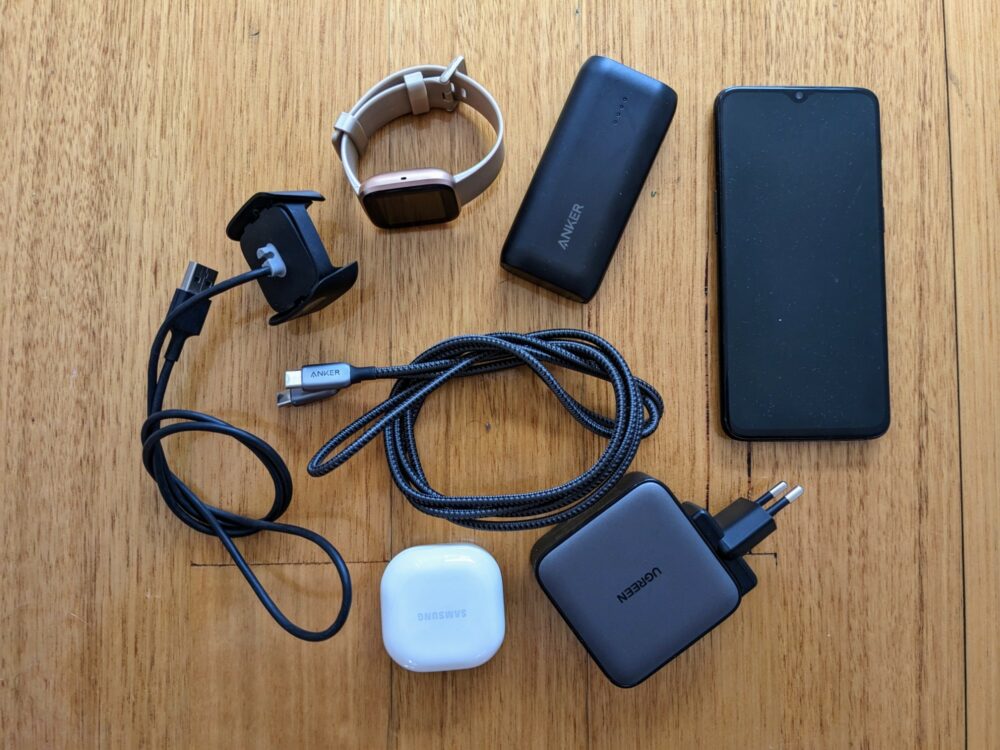
4-Way USB Charger
Multi-USB chargers like this are ideal for situations like this where power sockets (and time to use them) can be in short supply. It puts out up to 65W–that’s easily enough to fast-charge a couple of phones at once, or to plug in all your various gadgets and power them up at the same time. It comes with clip-on plugs for the UK, Europe, and US, so it’s something I use all over the world.
Fitbit
I used my Fitbit to roughly track how far I walked each day, as well as tell the time and set a silent (ie, vibrating) alarm. I turned off GPS to save battery, so the distances were only estimates, but when combined with a map they were close enough to get a good idea of how far it was to the nearest town or food stop.
Power Bank
On other long walks I’ve done, there was always pressure on power sockets, so I took a small power bank to make sure I could charge my phone each night. Since there was nobody else in our bunkhouses, I didn’t have the same problem on Hadrian’s Wall.
Even so, I’d recommend taking one of these gadgets with you. They’re small, light and cheap enough to justify the peace of mind they provide.
Smartphone
My phone was my camera, map and entertainment rolled into one, although I used it far more for taking photos than anything else. If you don’t live in the UK, you can buy a prepaid UK SIM in Newcastle or Carlisle if you need one, or just pick up a cheap eSIM before you leave home. That said, there was Wi-Fi in every hotel and bunkhouse I stayed in, along with most pubs.
Keeping the phone in flight mode whenever I was walking meant there was little chance of running out of battery during the day, and I was very happy with the photos I took.
Cables
I took an extra-long USB C cable, which I greatly appreciated whenever the power socket was halfway up a wall or miles away from my bed. The other cable was for charging the Fitbit. Wouldn’t it be nice if everything used the same plug type?
Noise-Isolating Earphones
I didn’t have as much time to relax in the evening as on previous long walks, mainly because I was starting out later in the day. Still, when I did have a bit of spare time, I’d dig out my my little Samsung earphones, block out the world, and relax on the bed with music or podcasts for a while.
Miscellaneous
I tried not to get too carried away with “extras”, as they all took up space and added weight. Here’s what made the cut.
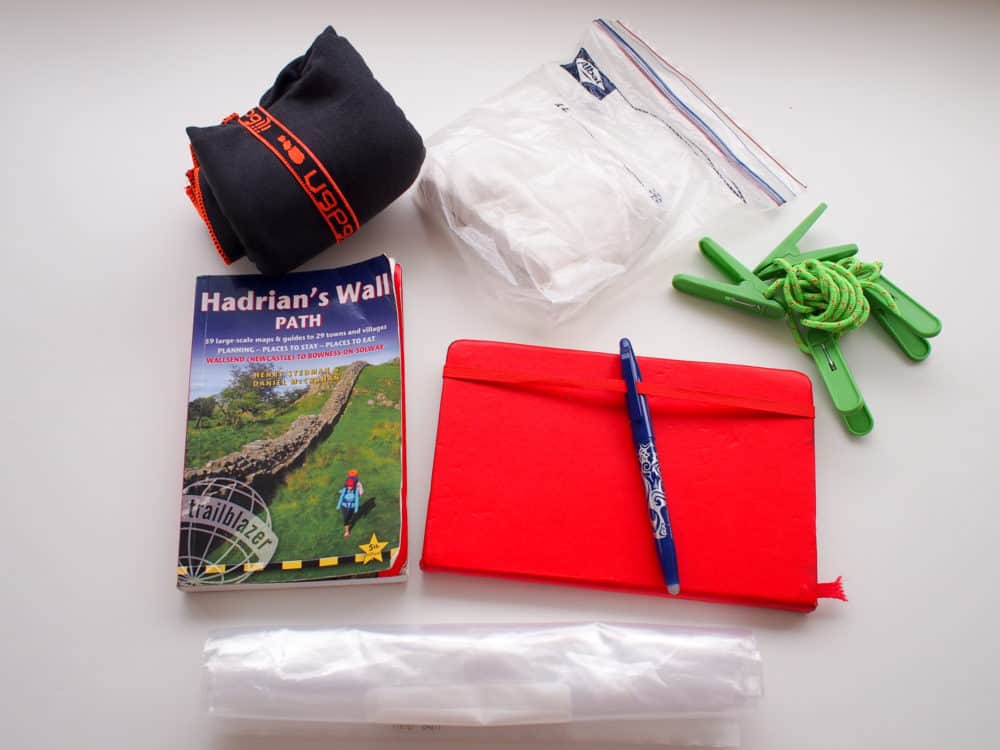
Guide Book
We used the Trailblazer guidebook, and it was excellent. It’s a very useful size (as mentioned, it fitted in my back pocket), with cute large scale, hand-drawn maps that made it almost impossible to get lost.
There was plenty of information about the towns and villages we passed through, and the history of the wall and its surroundings. The latest edition had just come out when I bought it, so prices and other details were highly accurate, and it was written in an accessible, light-hearted tone.
It’s the first time I’ve used a Trailblazer guide, but as the company publishes several similar walking and trekking books for the UK and around the world, I suspect it won’t be the last.
Travel Towel
While towels were provided in hotels, most bunkhouses tended to charge for them. As a result, I used my travel towel around half the time, and was glad I packed it. You can get quick-dry microfiber travel towels of various sizes — I opted for a mid-sized one, but anything similar will do as long as it has a loop to hang it off a shower hook or your backpack to dry.
Although it wasn’t big enough to wrap around my waist, it was more than ample to quickly dry myself after a shower. When I hung it up on the line or over the end of the bed, the towel itself was dry inside an hour.
Toilet Paper
I took a half-roll of toilet paper in a ziploc bag, in case I got caught short somewhere there was no paper (or toilet, for that matter). I didn’t need to use it, but it was a nice insurance policy.
Ziploc Bags
I bought a pack of medium-sized ziploc bags before I left, to store things like my snacks and passport. Since I had a few left over, I took them with me. I’d have put my journal and electronics in them if I’d really got caught in nasty weather, but things never got anywhere near that bad.
Journal and Pens
I had a Moleskine journal already, and took it and a couple of pens along to record a daily diary.
Clothes Line and Pegs
Rather than buying an expensive travel clothesline, a couple of years ago I found a place that sold climbing rope by length and bought about six feet of it. I only needed to use it once, to make an impromptu clothesline between a couple of bunks to finish drying some damp socks.
I used the pegs more often, to hang wet laundry on existing clotheslines at bunkhouses. For some reason, pegs always seemed to be in short supply — and with the persistent wind, my clothes would likely have ended up back in Newcastle if I hadn’t pinned them down.
Travel Insurance
Finally, don’t forget travel insurance. While it’s not technically something to pack, it’s still something to buy before you leave home, so I’ll include it here.
Accidents, injuries, and illnesses can happen on any long walk, and the cost of everything from medical bills to new flights can really mount up, especially if you’re not a UK resident.
I’ve used a lot of different travel insurance companies over the years, but these days I tend to go with Heymondo. The policies are affordable and compared to some of the others, I’ve found the website refreshingly simple to use and understand exactly what I’m buying.
But What About The…?
I’m not going to go into every possible thing I could have taken but chose not to — this post is long enough already — but there are three items worth mentioning.
Dry Bag
I’ve taken dry bags on long hikes in the past, and never used them. I was concerned about the higher chance of rain on this walk, but had faith in my poncho to keep my pack and everything in it safe even if the heavens opened. When the inevitable rain came, my socks were soaking by the end of the day, but everything in my bag was bone dry.
Walking Poles
I often use hiking poles, but because they’re often a hassle to fly with when you’re carry-on only, I left them at home for this walk. Around half of the other walkers I saw on the trail had them, but in the end I didn’t miss mine. The route was generally flat, and the few steep sections were manageable — typically quite short, and almost always with stone steps.
Camera
My camera isn’t particularly large, but it’s too big to fit in a pocket, which means there’s no easy way to keep it accessible without buying yet more dedicated gear. It’s something else to charge and protect from damage, plus the combined weight of the camera, charger and cable is noticeable in my bag.
Since my phone takes surprisingly good landscape shots, that’s what I’ve used on all my long walks so far. I haven’t regretted it yet.
Get regular travel, hiking, and tech updates from me
News, reviews, guides, and more, from here and around the web
So What Did I Learn From All of This?
As with many other things in life, when it comes to packing for the Hadrian’s Wall Path, less is more. Especially if you’re not camping or self-catering, you’ll find that beyond a bare minimum of stuff, the smaller and lighter your backpack is, the more enjoyable your walk will be.
While the path is generally soft and flat, there are some long stretches on pavement, especially if you’re planning to walk the trail in less than a week. Your back and shoulders will be much happier if you’ve got a good backpack. If you only put a few kilos of stuff in it, your feet will be thrilled as well.
With the next town or village never more than a few hours away, most things can be purchased when and if you need them. Take smaller amounts of the “essentials”, and leave all the “maybes” at home.
You don’t need much in the way of technical gear to walk this trail. A good pair of walking shoes, woollen socks and quick-dry underwear and shirts, a lightweight, supportive backpack, and solid protection from rain, cold and sunshine, are pretty much it. Everything else you need or want, you’re likely to already have around the house, or be able to pick up at your local supermarket.
So, the final word. Do your research, pick your equipment, and buy whatever you need. Don’t obsess over it, though, or think you need to look like a walking outdoor catalogue to finish and enjoy your Hadrian’s Wall experience. It’s a relatively short and straightforward walk, and with a little planning and basic equipment, you’ll complete it safe, sound, and happy.
Good luck!
If you’ve got any comments or questions about gear for walking the Hadrian’s Wall Path, leave them below — I’m happy to answer anything I can.


I’ve had the Osprey 44L backpack for a few years now and love it. I’ve walked the entire 1000Km Bibbulmun Track with it (at times with 8 days of food) and also part of Australian Alps (that time with full camping gear including tent and 8 days food), so I can confirm it’s big enough for serious long distance hiking. Great choice!!
I am preparing to undertake this walk in August 2018. Dave’s hints, tips and commentary have been of immense use, provided me with confidence that I can do this, and I am now excited. Thanks for a very inspiring report on your experience. Anne
Thanks for this advice Dave – very useful, pragmatic and reassuring.
No problem at all!
Hi Dave
I’m planing on taking this trip at the end of August 2018, with my 5 children aged 2, 8, 17, 19 &20, and my 3 Siberian huskies, my 19 year old son is autistic, I really think this will be a great experience for us as a family although we are planning to camp each night and make our own food, any helpful tips on the food the girls and I are vegetarians the boys are not
Kind regards Kelly
Hi Kelly,
Sounds like you’re in for a wonderful time — let’s hope the weather holds! What sort of tips were you looking for regarding food? Most of the places I ate at had vegetarian options, but if you’re self-catering, that’ll be less of a concern anyway. The only thing I’d say is that I didn’t see that many places to buy groceries etc outside the major towns, so you may need to carry a few day’s worth, or be prepared to head off-trail if needed.
So good i found this description! I was afraid of some things, but I see, that my preparing and buying the right stuff before, will help me enjoying the trip mid of September. Please cross fingers for good and dry weather (mostly) 🙂
Brilliant read,im doing my first long walk next April(Hadrians wall )all the good advice on here is fantastic,good tips all round,booked my accomodation well in advance (panic mode)good pair of scarpa boots being tested as we speak,luggage pick up booked too,just need to get some milage done now,living in the city is a hard one but not far from some good walks. I do have a Hi Gear horizon 28l back pack that has a nice gap on the back so hopefully wont make me sweat?..i will read thriugh this again just incase ive missed anything as i am nervous about doing it lol .
Hi Dave
Myself and brother are taking on the wall in February to raise awareness for mental health which I have previously suffered. We’re rough sleeping on the way. We have sleeping bag and bivvy bag. Any other tips please.
Many thanks
Hi Adam,
What sort of tips are you after? I covered pretty much anything I could think of in the post, but happy to expand on anything you’ve got questions about if I can.
I walked Hadrian’s Wall in June last year, during the World Cup, but sadly only found this list after I came back. I thought the list was so good I have come back to it to use for My West Highland Way packing list in April 2019. I thoroughly recommend this list and endorse everything Dave says here. My only difference would be that I used proper Meindl walking boots for each day except the first and last for which I wore trainers. Great job on the list, well done. If you are walking the Wall then this list is invaluable.
Thanks so much, Rory – really appreciate the endorsement!
A great blog which my husband and I have studied closely as we prepare for Hadrian’s wall on 9th September- our first hike & we are backpacking & camping along the way.
We’ve decided we need to get out more and try new stuff and your blog helped us decide to do it,
We’ve set up a blog though nothing like yours which is fab!
Cheers Dave
Dave,
Thanks for the useful guidelines. I’m considering using my Osprey Talon 33 backpack for this hike since you said your Talon 44 wasn’t full. I’ll be staying in B&B’s and pubbing it along the hike. Do you this that’s big enough for all the gear?
If you’re staying in B&B’s and eating at pubs, it sounds like you’ll be carrying a similar amount to me. If so, you can probably squeeze everything you need into the Talon 33 — depending on exactly what you plan to take, though, it might be tight. Just make sure you do a test pack well in advance in case you do have to go for something bigger.
Good point, I do have several dry bags of various sizes. I’ll probably strap one to my Osprey as an extra compartment if necessary. Thanks again for the useful information.
Great tips thanks Dave. A couple of questions thanks:
I’m actually considering taking an Osprey Talon 22 thinking this should be big enough as staying in pubs along the way. Now starting to wondering if this will be big enough given the comment about squeezing everything into a Talon 33. Regarding rain jackets, I have a 3 layer Macpac waterproof jacket that was ideal for 6 day camping hike in central Tasmania Aust, where weather was extreme. However, do you think a lighter, cooler jacket would be more ideal for Hadrian Wall walk in July.
I think a 30-something litre pack would be better, honestly, just because the variability of the weather means it’s good to have some extra clothing in case you get chilly and/or soaked.
That said, I suspect that jacket might be overkill – you really shouldn’t get the same kind of extreme weather in northern England in July that you get on the Overland Trail. If you’ve got something appropriate, I’d probably go for a two-layer waterproof/windproof option that you can layer underneath, just to save on a bit of extra bulk and weight.
Hi,
I’ve read that hiking boots are recommended, in part because of mud. I’ve used the Merrel Moabs for ages (general urban and flat hiking) and love them. Are the ankle-high boots necessary?
Cheers,
Tracy
If you’re walking in winter or after a lot of rain, I can see that you’d want higher boots of some sort. As I say, I was absolutely fine with Moab walking shoes (so, not the mid or high version) in summer.
Are there any laundromats along the way? Washing clothes is ok, it’s getting them to dry overnight that I’m worried about.
There are laundromats in Newcastle and Carlisle, but I don’t recall seeing any others elsewhere, and I’d be a bit surprised if there was: all of the other places you walk through are pretty small. You’ll have more luck with dryers at your accommodation: you’ll need to check the listing or contact the owner for anywhere that you’re planning to stay if it’s a major concern.
That said, I had no real problem getting clothes to dry during summer, even with the somewhat inclement weather, but they were generally quick-dry fabrics. It might be a different story if you’re walking at a different time of year, although some of the places we stayed had heated drying rooms specifically for dealing with wet clothes and boots.
Great tips here Dave!
My brother and I will walk the Wall Path coming June, and look forward to it!
Will let you know how it went 😉
This is a really useful kit list Dave and pretty much mirrors my own for a similar 7 day trip in North Wales last year.
I packed everything into a Talon 33 and took poles because some of the descents were slippery on slate. I also used boots and gaiters rather than shoes because the terrain was a bit boggier than the Hadrians Wall path.
The only thing I carried that I might add to your list is Leukotape P. It’s a tip I picked up for dealing with blisters. It sticks so much better than Compeed and will last through several showers. I just peel off a few inches from the roll and stick it to some of the backing that comes with shipping labels. That way it doesn’t take up much room in the first aid kit but it’s there if you need it.
Great Blog! Thanks again
Great tip on the Leukotape – thanks!